Last updated November 18, 2026

Free written scope consultation - allowances, timeline, and change-order rules on paper before a single trade is scheduled
Driveway & Pavers Maintenance Checklist for Lake Forest Homeowners
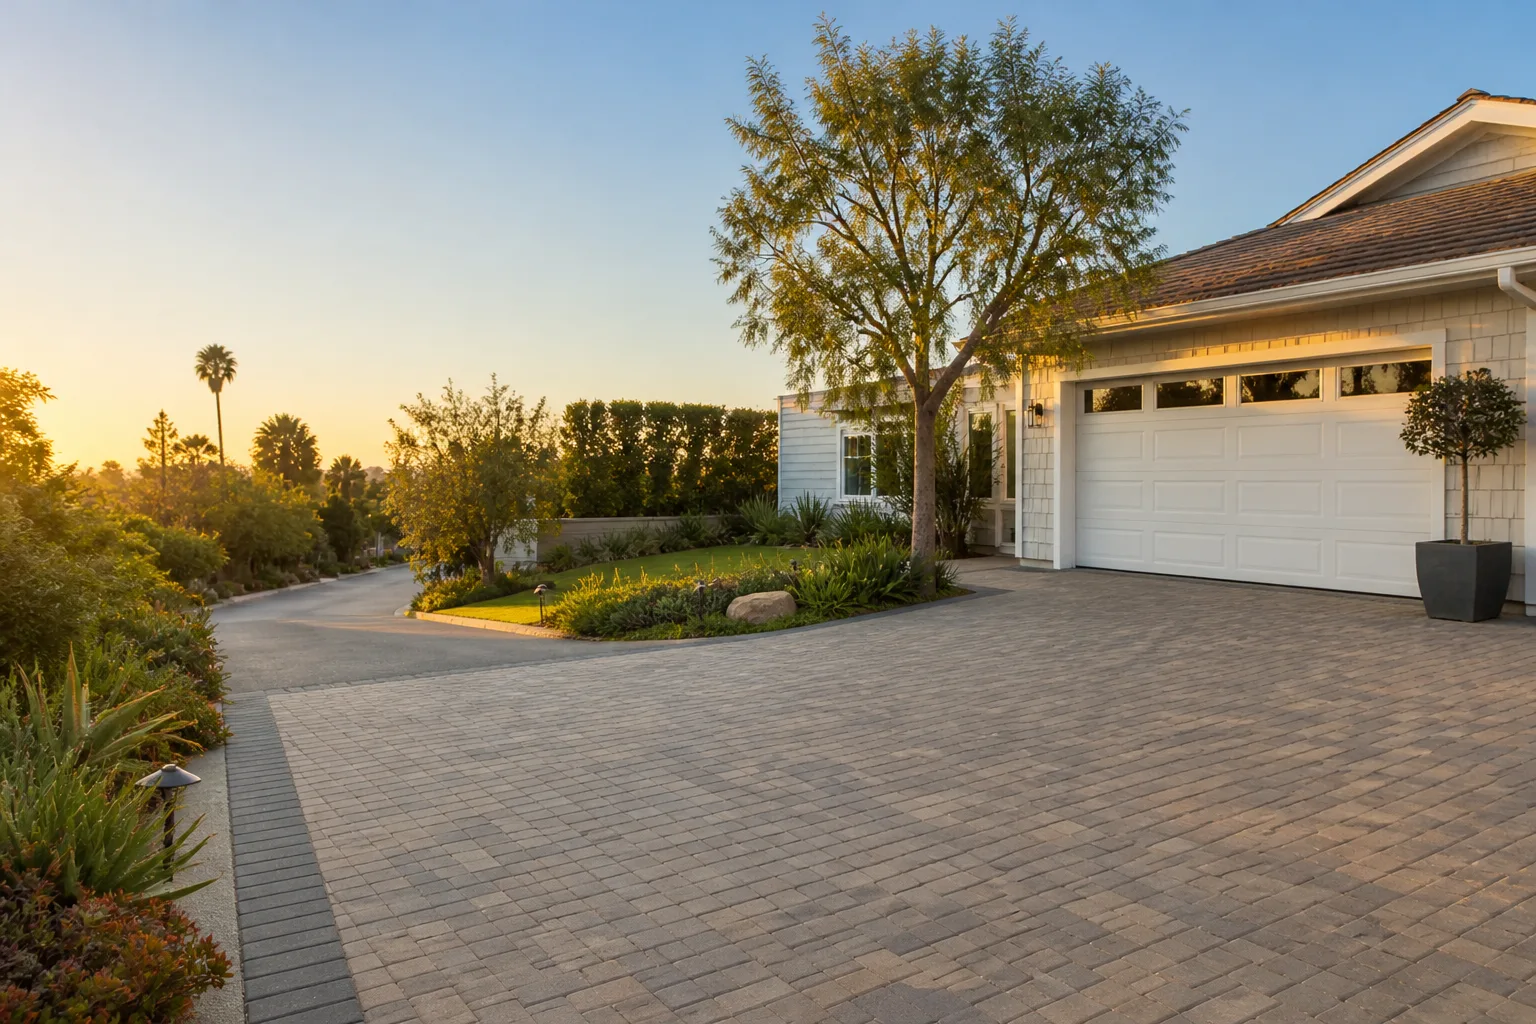
A paver driveway that was sealed once at installation and never touched again is running on borrowed time. In Lake Forest’s UV index, most standard acrylic sealers lose effective protection within 18 to 24 months, leaving the joint sand exposed and the surface color oxidizing from the top down. Most homeowners assume traffic load is what destroys a driveway. It isn’t. In our experience across Orange County, premature paver failure traces back to three overlooked maintenance gaps: joint sand that never got replenished, sealer that broke down under UV, and subbase settling tied to the region’s expansive clay soils. This guide walks those failure modes in the order they actually occur, so you can catch the small problems before they turn into edge rollover, widespread efflorescence, or root intrusion. You’ll get inspection intervals, sealer comparisons, and a seasonal checklist built for Lake Forest.
Quick Answer
Maintain a paver driveway in Lake Forest by inspecting joint sand depth twice a year and topping it off whenever it sits more than about a quarter-inch below the paver face, resealing on an 18-to-24 month cycle with a product suited to high-UV exposure, and checking drainage and subbase stability before every winter rain season. Catch settling early (a dip in the field or a rocking paver) and it’s a small repair; ignore it and it becomes full replacement. A written estimate from a qualified installer is the only reliable way to scope any repair.
Styles & brands we work with
- Kitchen remodeling
- Bathroom remodeling
- Home additions & ADU
- Roofing
- Windows & doors
- Driveway & pavers
- Fence
Table of Contents
- Why Pavers Fail in Lake Forest: The Three Gaps
- Joint Sand: Polymeric vs. Standard and Inspection Intervals
- Subbase Settling vs. Individual Paver Shift
- Sealer Comparison for High-UV Environments
- The Lake Forest Seasonal Checklist
- Early Warning Signs of Full Replacement
- When Repair Makes Sense and When It Doesn’t
- Common Mistakes to Avoid
Why Pavers Fail in Lake Forest: The Three Gaps
Start with the counterintuitive part. A paver driveway is a system, not a slab. The pavers are the visible layer, but the joint sand, the sealer, and the compacted subbase each do independent work, and each fails on its own schedule. When homeowners inspect a driveway, they look at the tops of the pavers. The problems almost always start underneath and between them.
Lake Forest’s summer UV is the first gap. Standard acrylic sealers break down chemically when exposed to sustained, high-angle sun. The surface goes from a deep color to a faded chalk, and once the film degrades, joint sand starts migrating out with every rain and every sweeping. You won’t notice the color shift until it’s well advanced, because you see the driveway every day. That’s why interval-based inspection matters more than eye-testing.
The second gap is Orange County’s expansive clay soils. Clay swells when it takes on water and shrinks when it dries. Under a paver field, that movement compresses and loosens the bedding layer gradually, and the telltale sign is a shallow dish or dip in one region of the driveway, not a single rocking paver. Homeowners often assume a shifted paver is a paver problem. Usually it’s a base problem, and the fix is completely different.
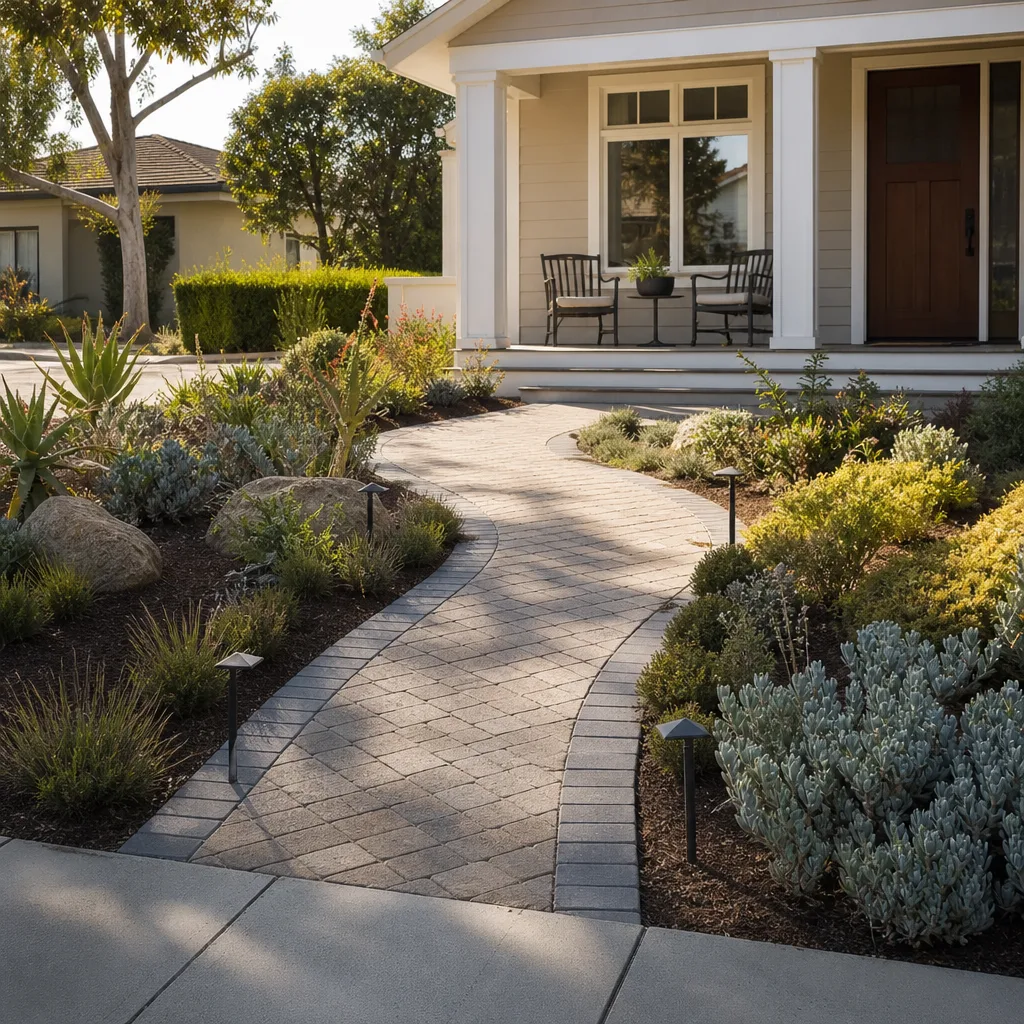
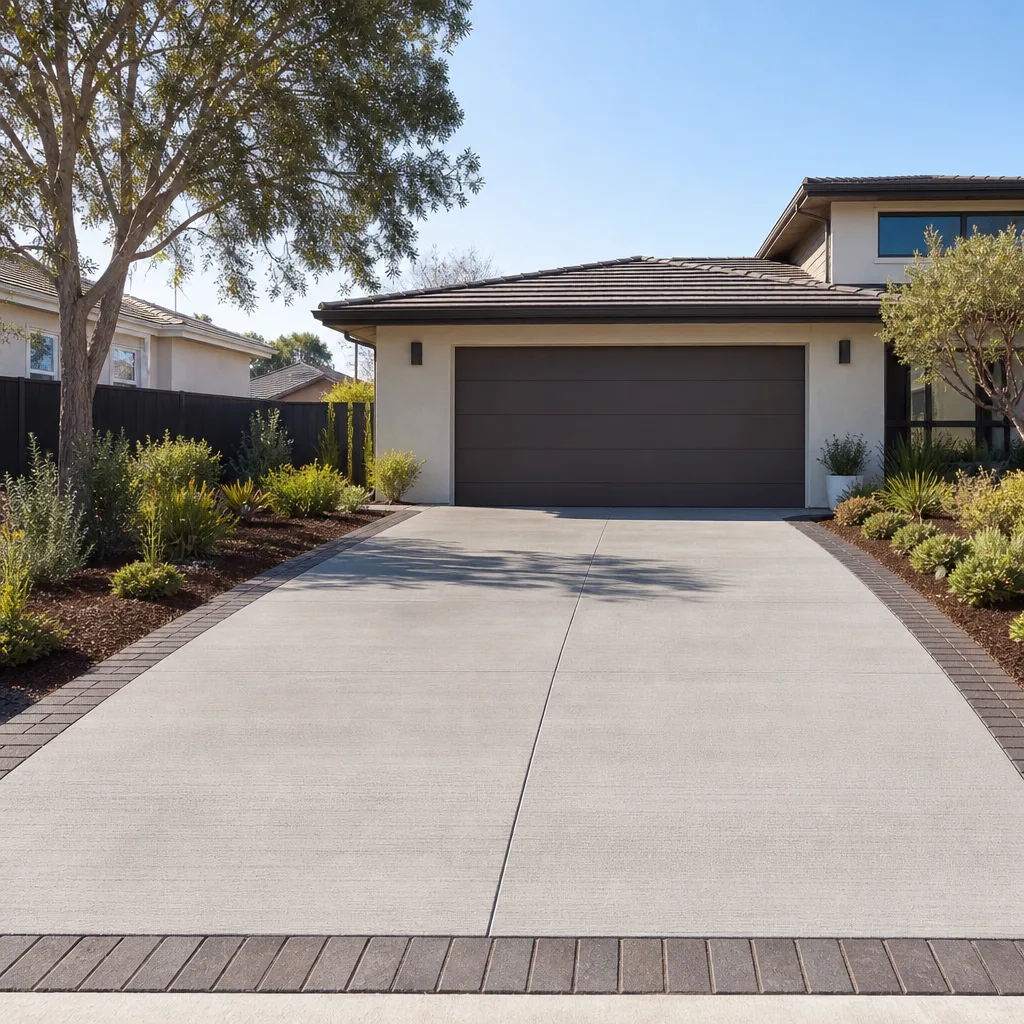
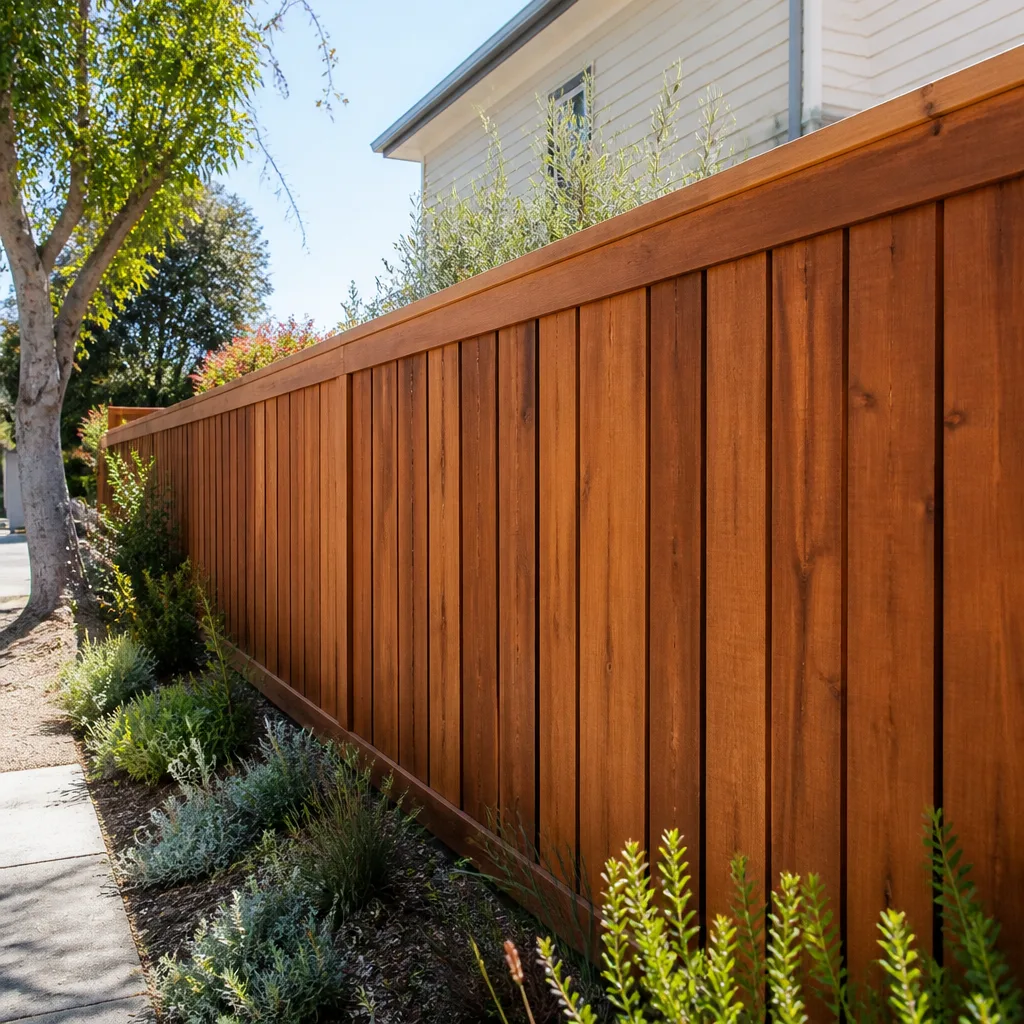
The third gap is joint sand. Polymeric and standard joint sands both settle and both wash out eventually, just at different rates. A driveway that has never had sand topped off since installation is relying on whatever the original installer packed in, and that’s typically well below optimal depth within a few years. Any full-scope exterior upgrade, from the driveway to the fence installation, benefits from the same inspection-first approach. If your paver installation is still on the drawing board, our driveway & pavers page covers how we build the base and select designer-grade brands such as Belgard, Techo-Bloc, Unilock, and Tremron.
Joint Sand: Polymeric vs. Standard and Inspection Intervals
Joint sand is the first thing to inspect and the cheapest thing to fix, which is why it belongs at the top of any checklist. Check joint depth twice a year, in spring before summer UV hits and in early fall before the rain season. Push a flat-blade screwdriver or a thin dowel into three or four representative joints in the field, the edge, and near the apron. If the sand sits more than roughly a quarter-inch below the paver face, it needs attention.
Top-off vs. full re-sanding
Topping off is enough when the sand is still present and cohesive but has settled low. You sweep fresh sand into the joints and water it in, and it bonds into the existing bed. Full re-sanding is required when the joints are essentially empty, when the remaining sand crumbles instead of packing, or when a polymeric joint has cracked along its length and lost adhesion to the paver sides. A full re-sand means cleaning the joints, refilling from scratch, and re-compacting.
- Standard joint sand settles faster and washes out more readily; expect inspection every six months and topping off more often.
- Polymeric sand holds better and resists washout, but it can crack when it cures under heat or when the paver field moves. Inspect joints for hairline cracks along the paver sides.
- Joint sand below the quarter-inch threshold is a top-off job; clean and re-sand anything emptier than that.
How to inspect for joint sand (numbered)
- Choose three or four joints spread across the driveway, including the edge course and the apron where sand washes off first.
- Insert a thin blade or dowel straight down until it meets resistance and note the depth from the paver top.
- Test cohesion by pinching a small sample between your fingers; sand that crumbles means the joint needs full re-sanding, not a top-off.
- Mark low spots with a piece of chalk so you know exactly where to concentrate the refill.
- Repeat after any heavy rain to confirm the sand is holding.
Subbase Settling vs. Individual Paver Shift
This is the diagnosis that separates a small repair from a large one, and it’s where most homeowners guess wrong. Subbase settling tells you the material under the pavers has moved. Individual paver shift tells you one unit has loosened in its bedding sand. They look similar from standing height, and the fixes are completely different.
How to tell them apart
- Subbase settling: a broad dish or dip that spans several pavers, often accompanied by a low spot near the center of a traffic path, or a widening gap at the edge course. Water tends to pool in the dip after a rain.
- Individual paver shift: one paver rocks slightly underfoot while the surrounding field is flat and stable. The joint around that single unit may be loose or wider than the rest.
- Bond pattern anomalies: a small cluster of pavers that have crept out of alignment, usually near a drive edge or where a car parks with the wheels on the joints.
Why the fix differs
A shifted paver is usually repairable by lifting that unit, resetting the bedding sand, and re-sanding the joint. Subbase settling means the compacted layer underneath has compacted further or shifted, and the repair involves lifting the field pavers, correcting the base, re-compacting, and reinstalling the pavers. In our experience, the earlier the settling is caught, the more concentrated the repair. Clay-heavy soils under Lake Forest driveways react to seasonal moisture changes, so inspection matters most at the transitions from wet to dry. The good news is that it’s almost always a repair, not a replacement, if you catch it. Reach out to us at (888) 397-8184 to schedule a free estimate for a settling diagnosis in Lake Forest.
Sealer Comparison for High-UV Environments
Sealer is the layer fighting the sun on your paver surface. In Lake Forest’s UV index, the wrong product imposes a fast replacement schedule. Three families of sealer perform differently, and each has a reapplication interval you should plan against.
- Acrylic film-forming sealer: the most common product on residential driveways. It deepens color, enhances gloss, and provides surface protection. Downside in high UV is that the film breaks down faster, typically around 18 to 24 months, and any trapped moisture under the film can cloud it. Reapply on roughly an 18-to-24 month cycle.
- Polyurethane sealer: a harder film with better UV stability and abrasion resistance than acrylic. It holds color longer and resists tire pickup, at a higher material cost. Reapplication generally lands in the two-to-three-year range.
- Penetrating silane-siloxane sealer: soaks into the paver face instead of forming a film. It doesn’t change the color or gloss and doesn’t peel or cloud. It offers no gloss, so it’s a choice for natural finishes and not for the polished look. Reapplication is typically in the three-to-five-year window depending on exposure.
How to choose
For a design-grade paver field on a home with a polished front elevation, a polyurethane film is a sound compromise of look and UV resistance. For homeowners who prefer the natural finish and want the longest interval, a penetrating sealer is the right call. Whichever you choose, the critical step is to test a small area first: a porous paver absorbs sealer unevenly, and you don’t want a patchy finish on a surface the whole street sees. The sealer should be applied when the surface is dry and the weather is stable, and reapplication should be scheduled against the product’s actual service interval, not the calendar. A written line-item estimate from a qualified installer tells you exactly which product is being applied and on what schedule.
The Lake Forest Seasonal Checklist
Lake Forest has a benign winter, which is why most failures occur in the warm months when UV and use are highest. The seasonal checklist below is built around three transitions: pre-summer, post-Santa Ana wind, and the winter rain season. It assumes a paver driveway on a properly built base.
Pre-summer (spring) checklist
- Inspect joint depth across the field and edges; top off any joint below the quarter-inch threshold.
- Test the sealer by looking for chalky color or water beading that no longer holds; if the surface hasn’t been sealed in about two years, plan the seal before the summer UV peak.
- Check for surfacing settling: sweep the driveway after a rain and look for standing water in pools.
- Verify the driveway apron and the transition to the street are stable and free of edge rollover.
Post-Santa Ana wind checklist
Santa Ana winds carry fine dust and dry debris that scours the surface and can lodge grit in the joints. After a wind event, sweep the driveway thoroughly. Grit left in the joints holds moisture against the pavers and can promote efflorescence. Remove any accumulation of leaves or debris along the edges and near the drainage path.
Winter rain season checklist
- Confirm all drainage paths are clear so water doesn’t pond on the field or against the house.
- Inspect the edge course for any loosening; a loose edge lets water under the field.
- Check joints after the first significant rain to confirm sand is holding and not washing out at the low points.
- Test a small drip of water on the surface if the sealer looks tired; beading should still hold on a well-sealed field.
This checklist also protects the rest of your exterior. If a driveway project is part of a bigger upgrade, our home additions & ADU team coordinates exterior scope with interior work so drainage and elevations are handled in one plan rather than two.
Early Warning Signs of Full Replacement
Most paver driveways can be maintained or repaired, but some conditions tell you the field has crossed into replacement territory. The earlier you learn to read these, the less likely you are to spend on repairs that won’t hold. Here’s the short list of warning signs.
- Edge rollover: the pavers at the driveway edge have tilted or rolled outward, and the base under the edge has visibly failed. Rollover means the edge restraint has lost its support; it’s a sign of base movement, and repeated repairs often fail because the cause remains.
- Widespread efflorescence: the white, chalky bloom that appears on paver surfaces is normal in small patches. When it covers most of the field and keeps returning after cleaning, it’s a sign of continuous moisture migrating through the base. That’s a subbase drainage problem, not a surface problem.
- Root intrusion: tree roots pushing up under the field pavers create localized heavage that lifts a ridge of pavers. If the root is large and growing, individual repair is usually a short-term fix.
- Widespread settling across multiple zones: two or more large dips in the field, plus edge movement, usually means the original base compaction was inadequate or the soil movement is extensive.
- Paver surface spalling or structural cracking: a broken paver or two is repairable; a pattern of them across the field points to base failure.
A qualified installer can diagnose the cause in person and give you a written recommendation. Sometimes the honest answer is a targeted repair; sometimes it’s a rebuild. Our technicians have up to 8 years of experience working with Orange County clay and the paver brands we install, and we’ll tell you which is the right call for your driveway.
When Repair Makes Sense and When It Doesn’t
Repair makes sense when the field is largely stable and the problem is localized: a small dip, a few shifted pavers, a worn sealer, or joint sand that’s settled with the pavers themselves intact. Replacement makes sense when the base has failed broadly, when edge rollover has recurred, or when the repair cost reaches a meaningful fraction of replacement. In our experience, the borderline cases are the ones worth a professional diagnosis, because the wrong call means paying twice.
Decisions that belong on your list
- Localized settling in one zone: repair, with base correction if the dip is deeper than visual proportions.
- Joint sand settled but pavers stable: top-off or full re-sand, plus sealer. Never replacement.
- Sealer broken down with intact field: reseal only. A sealer refresh is the cheapest “new driveway” you can buy.
- Two or more widespread zones plus edge movement: replacement. Patching a struggling base rarely holds for long.
- Persistent efflorescence across the field: drainage correction first. If the base is failing under it, replacement.
Beyond the driveway, keep an eye on the rest of the exterior envelope. When you’re planning a coordinated upgrade, one contractor across every project phase means the driveway, roof, windows, and interior scope are sequenced together instead of staggered. Wellborn cabinetry, Cambria surfaces, and Silestone countertops settle into a project plan the same way a paver field does: you want the right product for the exposure and the right installation under it. And if you’re building more square footage, the paver approach, the site grading, and the addition all belong in one plan.
Common Mistakes to Avoid
- Assuming a rocking paver is just a paver problem. More often than not, a rocking paver or a shallow dip is your first sign of subbase movement. Diagnosing the cause first saves the cost of a repair that fails.
- Waiting for a sealer to “look bad” before resealing. By the time an acrylic film looks chalky or worn, it’s already gone. In Lake Forest’s UV, that’s typically around 18 to 24 months after the last coat.
- Topping off joint sand without checking cohesion. If the existing joint sand crumbles rather than packs, top-off won’t hold. Full re-sanding costs more upfront but lasts longer.
- Skipping the pre-summer seal. Sealing in spring gives the film its full service life through the UV peak. A late-summer seal sits on top of an already-oxidized surface.
- Ignoring the post-Santa Ana debris. Wind-blown grit lodged in the joints holds moisture and accelerates both washout and efflorescence.
- Pressure-washing joints at full power. High-pressure water blasts out the joint sand that does the work of locking the pavers together. Use low pressure at the joints and stop at the paver face.
- Choosing a sealer by gloss alone. Gloss is the least important property. UV stability, breathability, and reapplication interval matter more on a Lake Forest driveway.
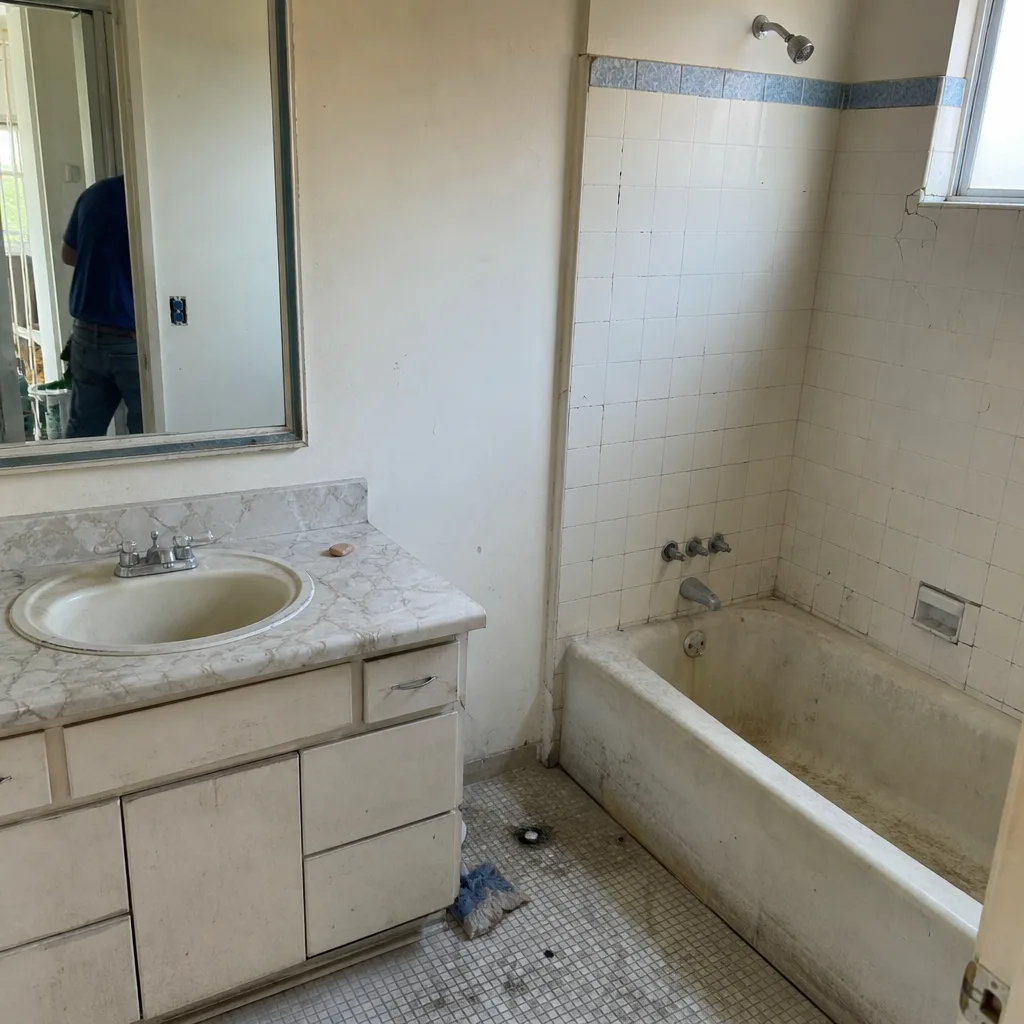
See the difference
 Before
 After
 Before
 After
 Before
 After
When to Call a Professional
Call a professional when a dip in the paver field is broad or surrounds a rain pool, when edge rollover has appeared, when efflorescence persists after cleaning, or when a tree root is lifting pavers. These are base-level problems that surface repair won’t resolve, and diagnosing the cause correctly is what tells you whether you’re facing a targeted repair or a replacement. A pro should also verify the joint sand, sealer, and drainage at the same time so the whole system gets assessed in one visit. Construction Lake Forest offers free estimates in Lake Forest – call (888) 397-8184. We answer 24/7. Fast dispatch, 7am-7pm, Sunday through Friday. Our technicians have up to 8 years of experience and we work with the full roster of designer-grade paver brands.
Frequently Asked Questions
Inspect joint sand twice a year, once in spring and once before the winter rain season. Top off whenever the sand sits roughly a quarter-inch below the paver face. If the existing sand crumbles rather than packs, skip the top-off and plan a full re-sanding. Call (888) 397-8184 for a free estimate on a sand inspection – estimates are free.
Subbase settling shows up as a broad dip or dish that spans several pavers and usually pools water after rain. A shifted paver rocks slightly while the surrounding field stays flat. The two require completely different repairs, so a professional diagnosis is worth it before you authorize any work.
Acrylic film-forming sealers are the most common but fade fastest in high UV, typically needing reapplication around every 18 to 24 months. Polyurethane gives better UV stability and abrasion resistance at a higher material cost. Penetrating silane-siloxane sealers have no gloss but offer the longest interval. Test a small area first and schedule reapplication by the product’s actual service interval.
Before summer, inspect joints, check the sealer, and confirm the apron is stable. After Santa Ana winds, sweep out grit and clear debris from edges and drainage paths. Before winter rains, confirm drainage paths are clear, the edge course is tight, and the sealer is intact. A written line-item estimate from a qualified installer scopes any repair in advance.
Edge rollover, widespread efflorescence that keeps coming back, root intrusion under the field, a broad pattern of settling across multiple zones, and surface spalling across the field all point to replacement. One localized dip or a handful of shifted pavers is usually a targeted repair. Call (888) 397-8184 for a free estimate – estimates are free.
No. A written line-item estimate sets the price, and the written estimate is the final word. Unexpected conditions under the base, such as a failed layer or a root, are identified at diagnosis before the estimate is issued. Call (888) 397-8184 to schedule your free estimate – estimates are free.
The Bottom Line
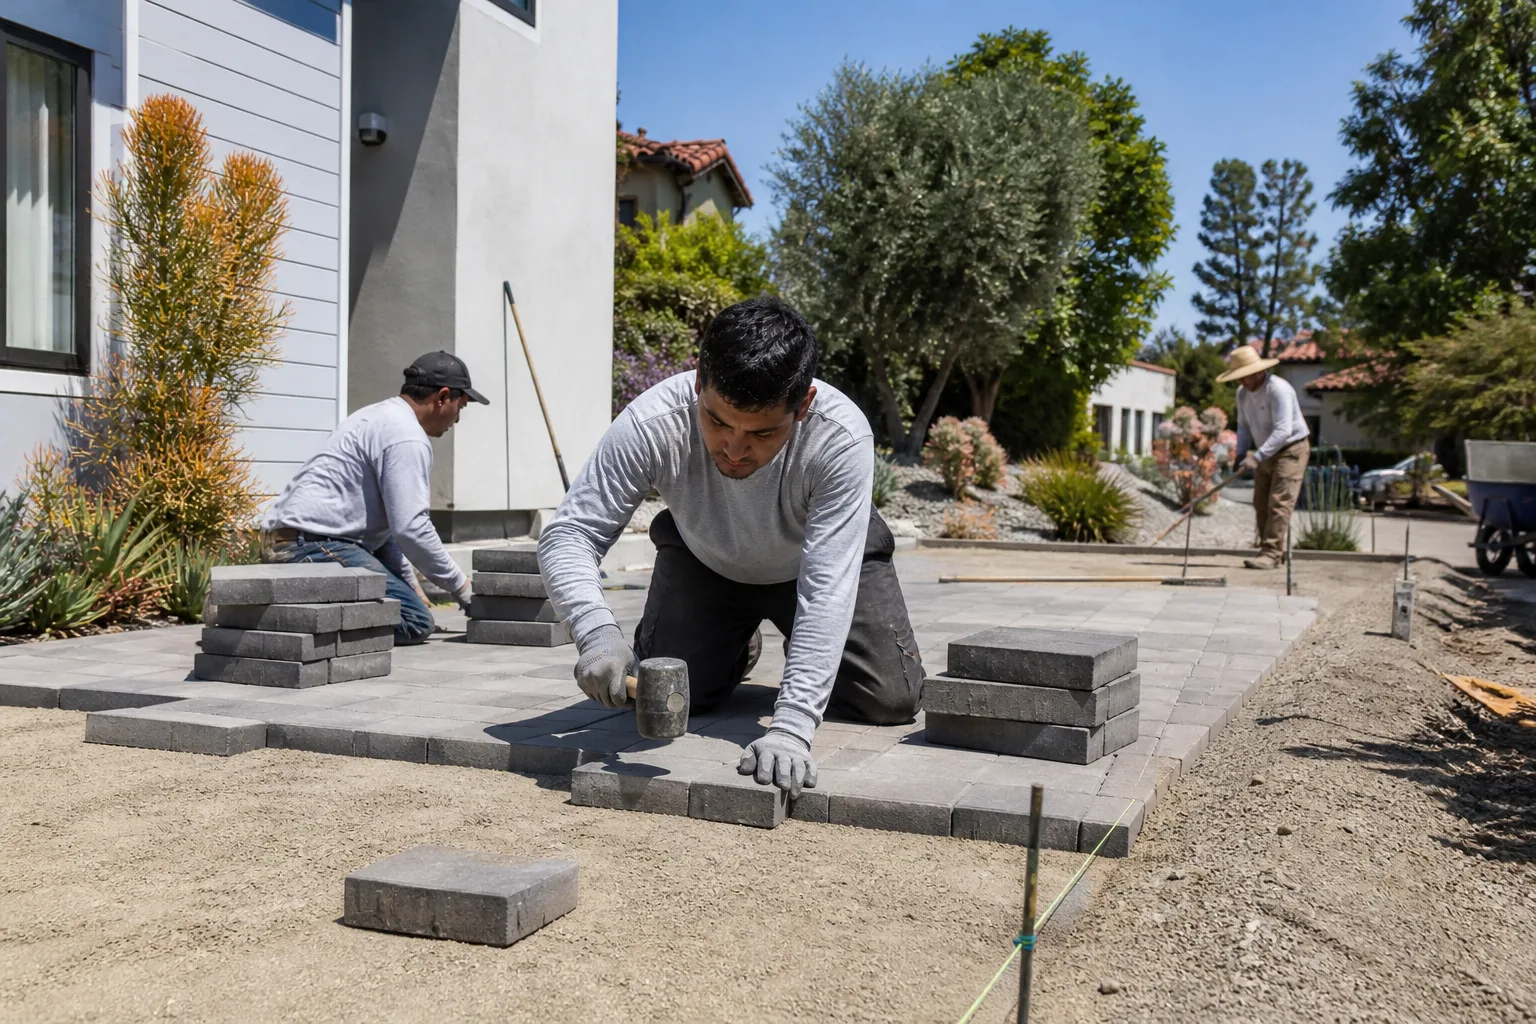
Paver driveways fail in three predictable ways: joint sand that was never replenished, sealer that broke down under high UV, and subbase settling tied to Orange County’s clay soils. Catch each one on a schedule, and the driveway will outlast the field around it. Keep the checklist going: spring inspection and seal, post-Santa Ana debris clearing, pre-winter drainage check, and a sealer refresh every 18 to 24 months on acrylic or longer on polyurethane and penetrating products. Learn to tell a settled base from a shifted paver, because the fix diverges sharply. And know the warning signs (edge rollover, widespread efflorescence, root intrusion) that mean you’ve crossed into replacement. That’s the whole of Construction Lake Forest paver maintenance in one place.
Call (888) 397-8184 to schedule your free estimate on any paver repair, re-sand, sealer refresh, or full driveway plan. We answer 24/7. Fast dispatch, 7am-7pm, Sunday through Friday.
Written by the team at Construction Lake Forest.