Last updated November 18, 2026




Free written scope consultation - allowances, timeline, and change-order rules on paper before a single trade is scheduled
Driveway & Pavers Troubleshooting in Lake Forest: Common Problems and How to Fix Them
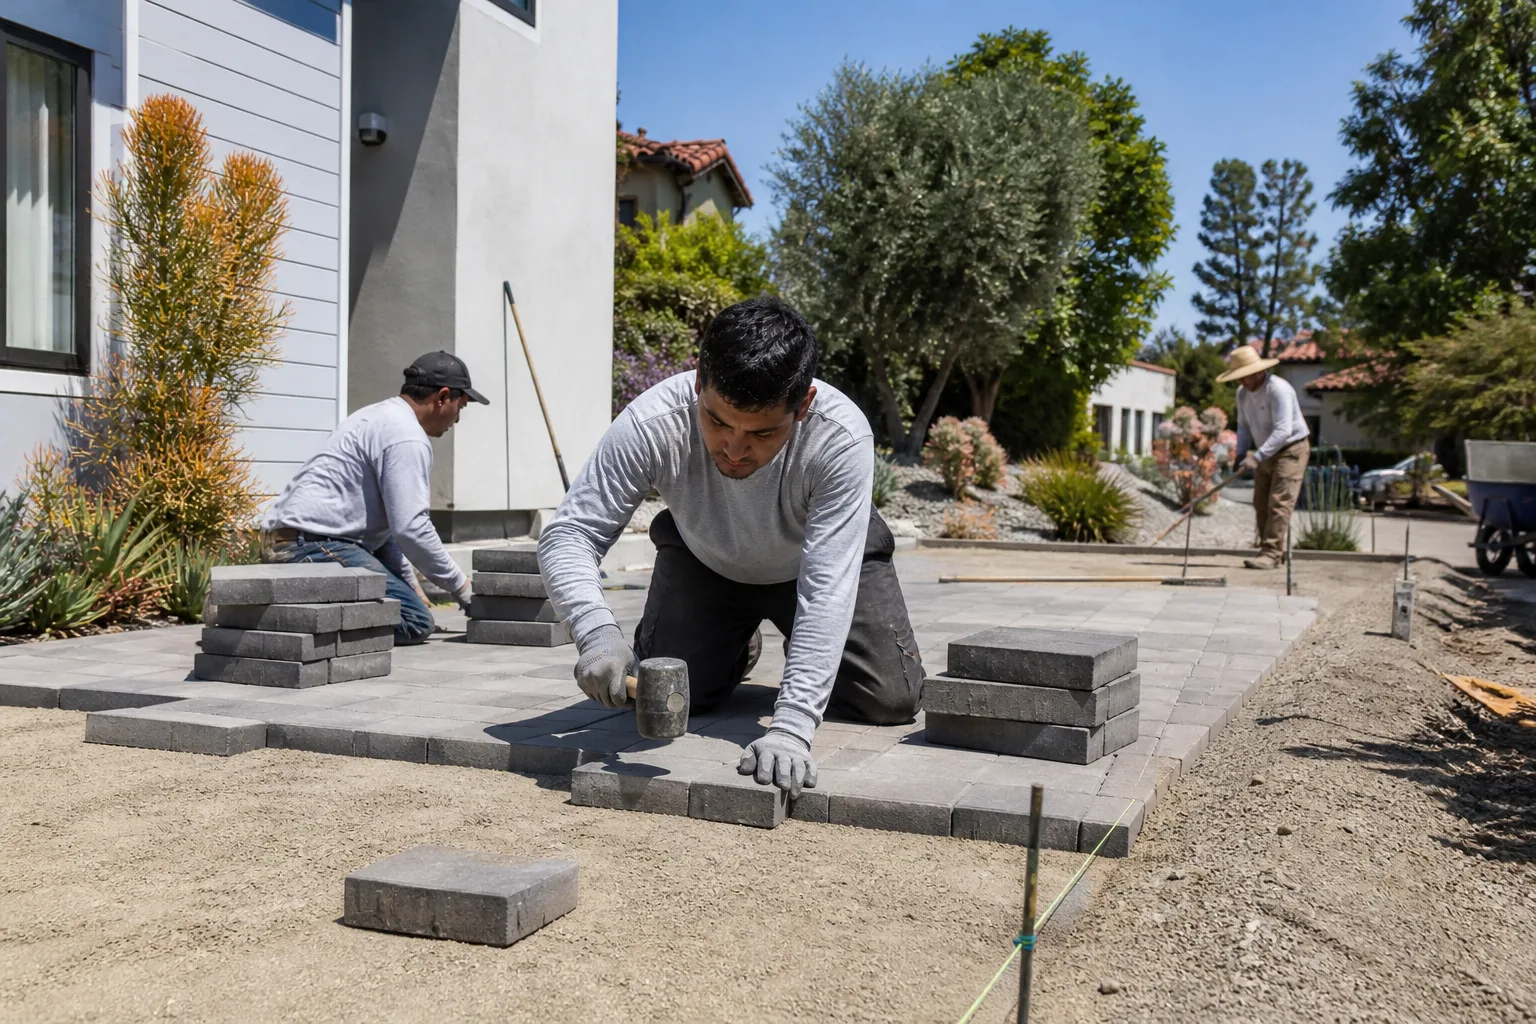
A sunken paver section or a spreading joint isn’t a paver problem – it’s a base problem. That’s the one idea that changes how you approach every driveway failure in Lake Forest. Most homeowners see a dip near the garage apron and reach for a bag of sand or a few replacement pavers. Six months later the dip is back, wider than before, and the “fix” cost more than doing it right the first time. Replacing pavers on top of a failing base is the most expensive mistake we see with driveways in this city, and it’s entirely avoidable. This guide walks through each failure type, what’s actually causing it, and whether you can reasonably patch it yourself or whether the base needs a full reset.
Quick Answer
Most paver failures in Lake Forest come down to two root causes: an inadequately compacted base and failed edge restraint. Surface repairs – re-sanding, replacing individual units, sealer touch-ups – only work when the base and edges are sound underneath. If pavers have sunk, spread, or rocked loose, the fix is a base-and-edge repair, not a cosmetic one. Diagnosing the cause correctly is worth more than any product you can buy.
Styles & brands we work with
- Kitchen remodeling
- Bathroom remodeling
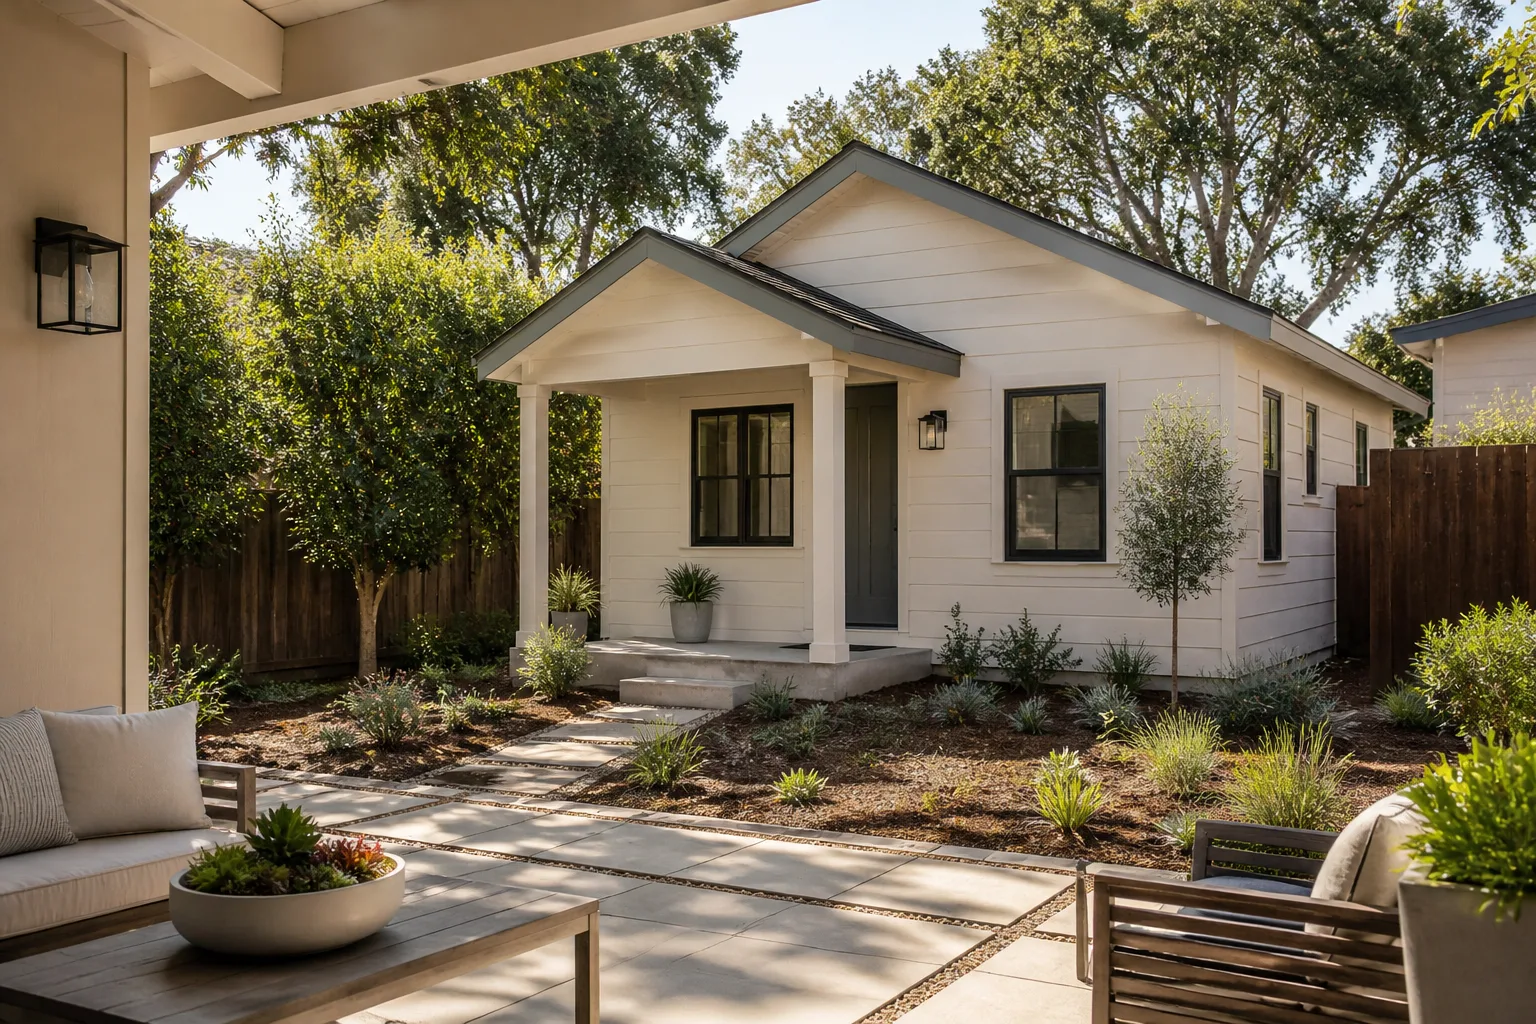
- Home additions & ADU
- Roofing
- Windows & doors
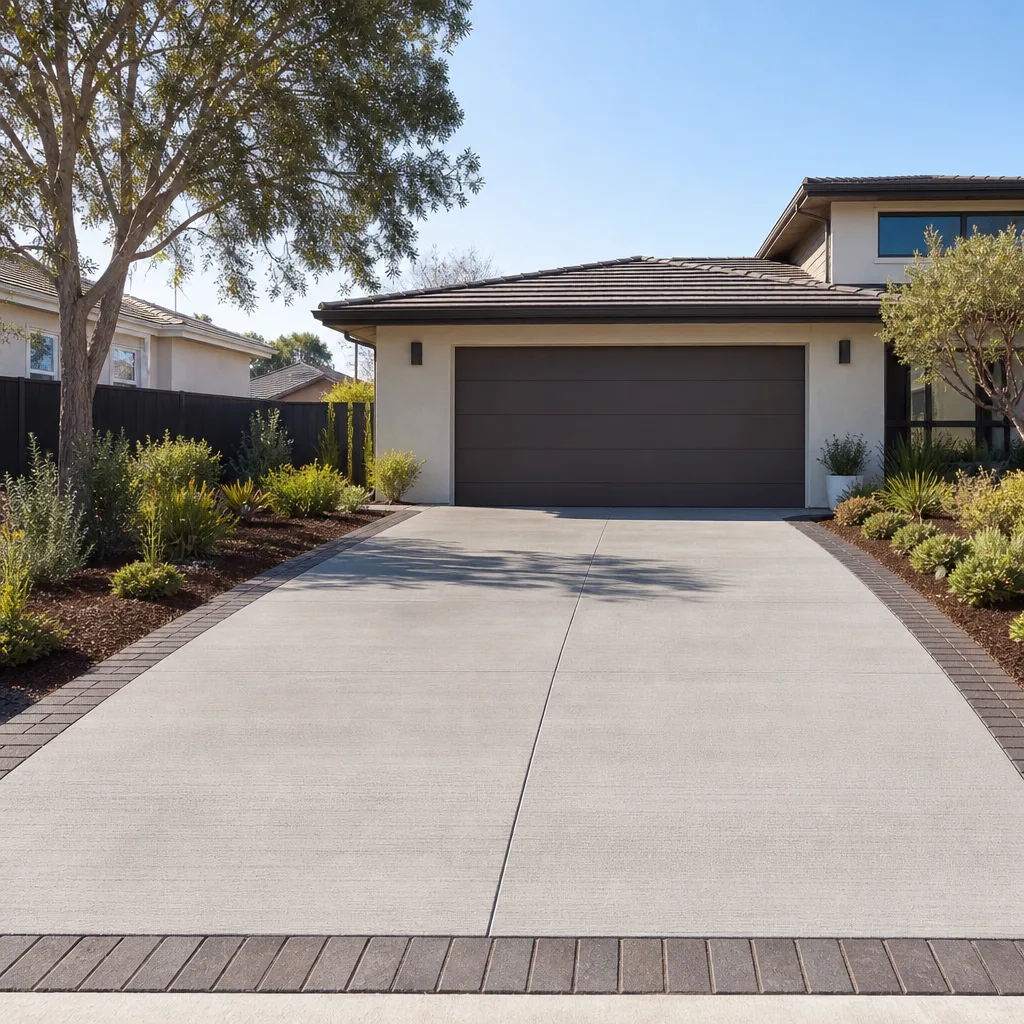
- Driveway & pavers
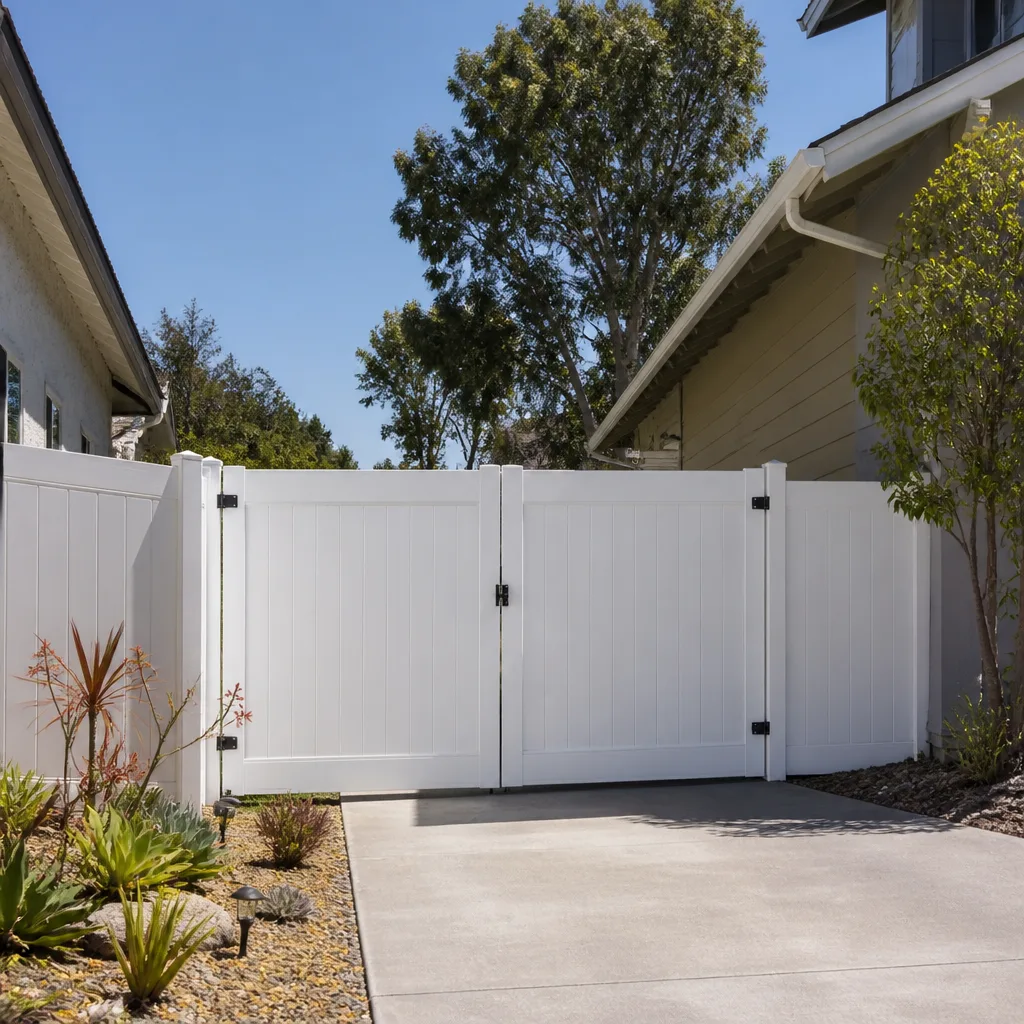
- Fence
Table of Contents
- Paver Failure Diagnosis: What the Symptom Tells You
- Why Pavers Sink and What Actually Fixes It
- Edge Restraint Failure: Identifying It and Retrofit Options
- Cracked and Chipped Pavers: When It’s the Paver and When It’s the Ground
- Polymeric Sand Failure in Lake Forest’s Heat
- Weed and Ant Intrusion: Joints, Sanding Schedules, and Sealer Selection
- Efflorescence and Staining in a Dry Climate
- The Signs Your Base Has Failed Beyond Patching
Paver Failure Diagnosis: What the Symptom Tells You
Different symptoms point to different root causes, and treating the wrong one wastes money. Use this breakdown as a starting point for any paved surface on your property. We’ve walked Lake Forest driveways where three “different” problems turned out to be a single failed base under a spreading field, and knowing that up front saves a lot of trial-and-error sanding.
- Sunken sections: Usually base settlement or a washout of bedding sand. Occurs at driveways with poor surface drainage or fill soil that wasn’t compacted.
- Spreading pavers: Almost always edge restraint failure or missing restraint altogether. Units migrate outward at the driveway perimeter or apron.
- Cracked units: Concentrated point loads (vehicle jack, equipment, patio furniture feet), or underlying movement that flexes the paver until it cracks.
- Weed intrusion: Failed or missing joint sand, undersized joint gaps, or no barrier at the open edges.
- Efflorescence (white haze): Soluble salts wicking to the surface during curing or after water exposure. Cosmetic in most cases, diagnostic in others.
- Rocking or loose pavers: Bedding layer has degraded or washed out. This is the clearest signal of a base issue.
One honest caveat: symptoms overlap. A driveway with “spreading pavers” can also have sunken corners if the whole field is drifting off a failed edge. That’s why the diagnostic step comes before the repair decision. If you’re already considering a replacement scope rather than repair, our driveway & pavers overview covers how a full installation is built from the subgrade up.
Why Pavers Sink and What Actually Fixes It
Pavers sink because something underneath them settled. That’s it. The paver itself isn’t losing volume – the base or bedding layer is. In Lake Forest, where summers run hot and dry and the soil is often expansive clay, settlement happens in two ways: gradual consolidation of fill or poorly compacted base, and erosion of bedding sand into open joints or under a failed edge.
Fixing a sunken section properly means working below the surface, in this order:
- Remove the affected pavers and a margin around them, keeping the units intact for reuse.
- Expose and inspect the bedding sand and base. If the sand is thin or the base has puddled or debonded, the failure area is larger than the visible dip.
- Recompact the base to spec, adding crushed aggregate where it’s shallow.
- Reestablish grade and drainage so water moves off the surface, not into the joints.
- Re-lay a proper bedding course, reset pavers, reinstall edge restraint if it’s in the affected zone, and re-sand.
The margin matters. If you pull two pavers and reset them, but the base under the next six is equally settled, you’ll be back in that area within a season. We tell Lake Forest homeowners: treat a sunken section like a tile crack – the visible damage is smaller than the affected area, so the repair footprint should be larger.
When Sunken Sections Are Actually a Drainage Problem
If your driveway dips toward the house or the garage rather than away from it, no amount of re-setting will fix the cause. Water pooling on the pavers pushes its way into joints and under edges. In a city that gets its rain in concentrated bursts during winter months, slope matters more than homeowners expect. A paver repair that restores the pavers but doesn’t restore the slope is a temporary fix. The correct fix in that case adjusts grade during the reset.
Edge Restraint Failure: Identifying It and Retrofit Options
Edge restraint is the often-invisible metal, plastic or concrete curbing that holds the paver field in place at its perimeter. When it fails, pavers creep outward – usually toward the street, sometimes toward the garage – and the joints widen across the whole field. This is the second-most-common root cause of paver failure in Lake Forest, and it’s frequently misdiagnosed as “the pavers are just old.”
Here’s how to identify restraint failure in under five minutes:
- Look for a visible gap between the outer row of pavers and the curb, apron, or landscape edge.
- Push a screwdriver into the outer joint line at several points. If it goes in freely with no resistance, the sand and restraint zone have opened up.
- Check whether the restraint is aluminum (should be bolted through every few feet), plastic (common but susceptible to ground contact damage), or concrete curb.
- Walk the perimeter. Pavers should sit tight and level against restraint. Any rocking at the edge is a red flag.
Retrofit options exist without tearing the field out. For a driveway with a failed plastic edge, a bolt-down aluminum L-restraint can usually be installed on the exposed perimeter, with re-compaction of the outer course and fresh joint sand. Where the failure is at a driveway entrance that takes turning loads, a concrete curb works better. The retrofit has limits: if the field has already spread significantly, you’ll be resetting two or three outer rows, not just adding restraint. Once the field is stable, joint sanding is what locks the repair in. Homeowners rebuilding the whole driveway surface, or adding a patio to match, should think beyond the repair and consider the full hardscape scope alongside their fence installation as part of one exterior plan.
Cracked and Chipped Pavers: When It’s the Paver and When It’s the Ground
A cracked paver is a symptom, not a diagnosis. The paver itself can fail from a bad batch, a manufacturing flaw, or point-load damage. But if cracks appear in a line, a cluster, or along the whole pattern of loading, the ground is moving under it. That distinction is what decides whether you swap one unit or dig down.
Sort your cracks by pattern:
- Single isolated crack: Almost always point load. Heavy equipment set down on the paver, furniture feet, or a vehicle jack. Replace the unit and move on.
- Cracks along a straight line: Movement. Something underneath is settling, heaving or flexing. Look for sunken sections or loose units in the same run.
- Cracks along the driveway edge: Usually restraint failure with the paver corner absorbing the migrating load.
- Cracks across the middle of the drive: Often base settlement concentrated under the vehicle parking zone, which is exactly where the compaction spec matters most.
Replacement is straightforward once you have the correct unit. Matching color and texture from current production is where the difficulty lives – the paver industry updates casts and color blends frequently, and a match sourced from Belgard, Techo-Bloc, Unilock or Tremron lines isn’t always available across a discontinued series. For cracked units in an otherwise sound driveway, the goal is a close match installed to the same level as the surrounding field, not a perfect color clone.
Polymeric Sand Failure in Lake Forest’s Heat
Polymeric sand is the joint stabilizer that keeps pavers locked, resists erosion, and blocks weeds. It’s also the single most-misunderstood product in driveway maintenance, and Lake Forest’s climate makes the difference obvious. Standard polymeric sands are formulated to set through a moisture-cured reaction. When applied above roughly 90°F – and Lake Forest hits that temperature for long stretches each summer – the sand skins over before water can reach the depth of the joint. The result is a crust on top and powder underneath, which flushes out in the first rain or crushes out under tire traffic.
What matters in this climate:
- Application temperature: Time the install for early morning or a cooler stretch so the sand can hydrate fully before the surface dries.
- Joint depth: Polymeric sand needs a consistent joint depth, usually about 1 inch below the paver surface for a proper lock. Shallow joints fail faster.
- Product selection: Fine-grain polymeric sands and those with extended open times perform better in heat. Ask specifically what product is being installed, not just “polymeric sand.”
- Water curing: Two light passes of water, not one heavy drench. Too much water erodes the sand; too little doesn’t activate it.
Failed polymeric sand is often the reason a driveway looks neglected even when the pavers themselves are sound. Re-sanding is a maintenance task, not a repair. Expect to re-sand joints every few years on a driveway that gets daily vehicle traffic – more often if the edge restraint is compromised. When the polymeric sand is failing at scale, that’s a signal to look underneath before you spend another season on re-sanding.
Weed and Ant Intrusion: Joints, Sanding Schedules, and Sealer Selection
Weeds and ants come in through the same doors: open joints, missing sand, and a compromised perimeter. If you’re fighting the same weed at the driveway edge every spring, the honest answer is that the joint above the root is open and something is growing up through it. Herbicide is a temporary patch. Joint sand is the fix.
A practical remediation sequence for a Lake Forest driveway:
- Pull or treat existing weeds and ant colonies. Do this thoroughly before re-sanding – joint sand over live growth fails fast.
- Clean the joints to a consistent depth with a joint blade or pressure washer (light pressure, correct nozzle). Don’t blow the underlying bedding sand out.
- Re-sand with the correct polymeric product, working methodically across the field, then activate per the manufacturer’s spec.
- Apply a sealer matched to the climate. In Lake Forest’s dry heat, a breathable penetrating sealer works best. Film-forming sealers look great for the first season and then crack, trap moisture, and go milky under UV.
- Schedule a re-sand every two to three years on high-traffic surfaces. Fix any open joint at the edge restraint immediately.
Ants are the underrated problem. They excavate joint sand into tunnels, which is why a driveway with heavy ant activity loses joint sand three or four inches below the surface long before the top looks wrong. Treat the colony, not just the visible trail, then re-sand. Sealer selection matters here too – a good penetrating sealer doesn’t seal the surface from moisture vapor and doesn’t create the surface film where weeds like to germinate.
Efflorescence and Staining in a Dry Climate
Efflorescence is the white, chalky haze that shows up on some pavers. It’s caused by soluble salts migrating to the surface as moisture moves through the concrete or the base and evaporates. It looks like a defect, and most of the time it isn’t – it’s a phase. New pavers, recent repairs, and re-sanded joints are the most common times for it to appear in Lake Forest.
What to do about it:
- Wait out new installations. Efflorescence on a fresh install often fades on its own as the material settles.
- Use an efflorescence remover formulated for pavers – not a generic acid wash – and test on an inconspicuous area first.
- Investigate recurrence. If efflorescence keeps coming back on a section of the driveway, water is moving through the base or the paver. Look for a drainage path.
- Sealer after, not before. Sealing an active efflorescence area traps the salts, and you’ll see it forever.
Other stains follow the same logic. Rust stains usually point to metal reinforcement or fixture contact; oil stains need a specific degreaser and often a poultice; organic staining from tree litter fades with time and a light cleaning. None of these require repair unless the stain is a symptom of an underlying water problem.
The Signs Your Base Has Failed Beyond Patching
Some driveways can be patched. Some can’t. The distinction matters because paying for a surface repair on a failed base is the most common way to lose money on a paver driveway in Lake Forest. These are the signal events that mean a base reset is the responsible fix:
- Multiple sunken sections across the field, especially separated by areas that are still level. That pattern says compaction varied, and the whole base needs to be assessed.
- Pavers rocking noticeably underfoot across an area larger than a couple square feet.
- Visible water pooling in the driveway that hasn’t changed despite re-sanding and a clean surface.
- Persistent joint sand loss – if the joints keep losing sand within months of re-sanding, the base isn’t holding.
- Spreading pavers at the perimeter after restraint has been retrofitted correctly.
- Original installation built over unexcavated fill or soil that wasn’t recompacted. Any repair on top of that base is temporary.
When those conditions line up, the honest answer is a reset: excavate to a stable subgrade, reinstall aggregate base in lifts with vibratory compaction, reestablish drainage and slope, reinstall edge restraint on a solid footing, and re-lay the pavers with proper bedding. It’s more work up front and less cost over the life of the driveway. If the driveway shares a slab edge or apron with the garage, verify the apron detail before the reset – some structural work overlaps with construction scope and shouldn’t be improvised by the paver crew. If a new covered entry, patio wall, or freestanding structure is part of the long-term plan, coordinating it with a home additions & ADU scope keeps the site work in one plan instead of two.
Common Mistakes to Avoid
- Top-dressing a sunken section with sand or new pavers. The dip will return because the base underneath is still compacting. Treat the base before the surface.
- Re-sanding without fixing edge restraint. Fresh sand on top of a spreading field is wasted material. Restraint first, sand second.
- Sealing too early in the day in summer. Sealer applied in the heat of the day flashes before it penetrates. Early mornings are safer in Lake Forest.
- Assuming all polymeric sand is the same. Formulation, cure time, and heat tolerance vary significantly. Ask what’s being installed, not just whether it’s polymeric.
- Pressure-washing the joints aggressively. High pressure blows out joint sand and bedding beneath. Light pressure, correct nozzle, always.
- Buying “matching” pavers from a big-box store. Color and texture in the current cast almost never matches an older production run. Source the correct unit through a paver brand’s current line.
- Skipping the edge inspection when weeds appear. Weeds at the perimeter are often the first sign of restraint failure. Fix both at once.
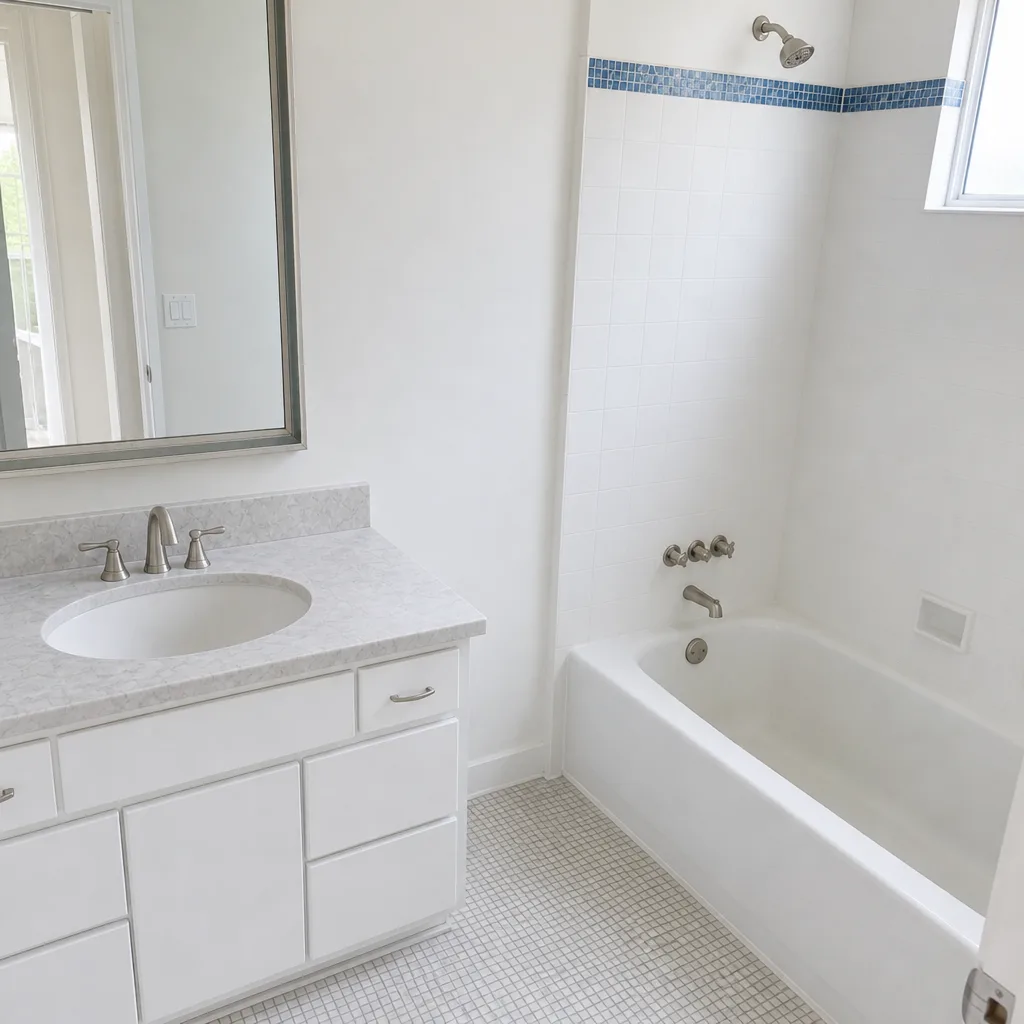
See the difference
 Before
 After
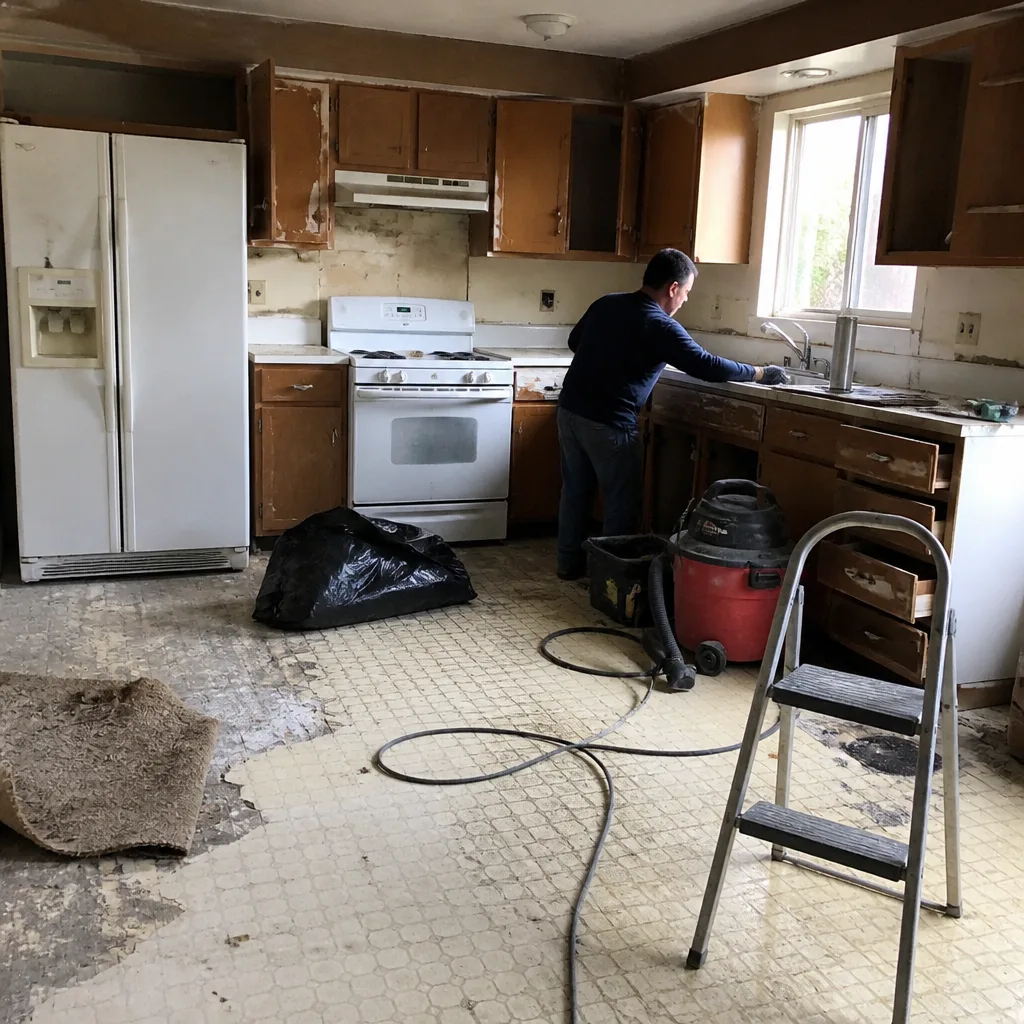 Before
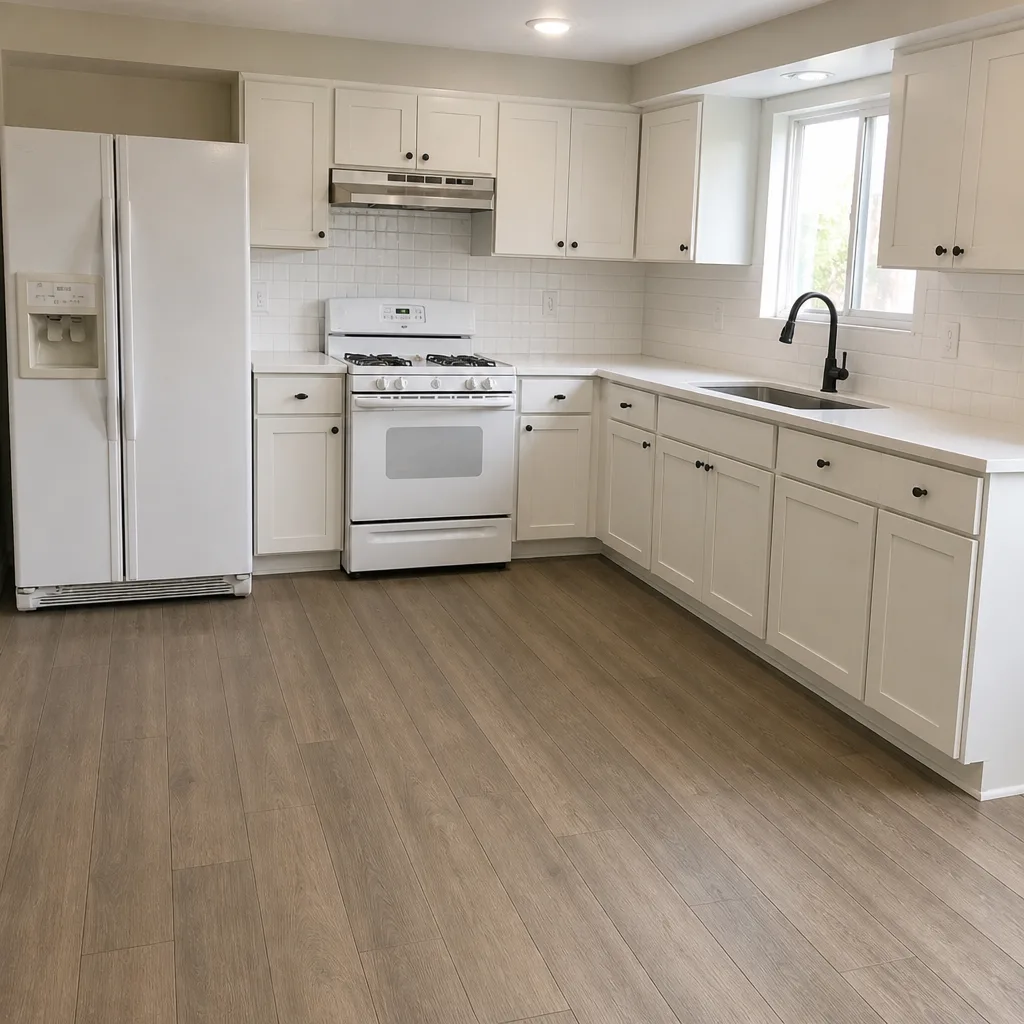 After
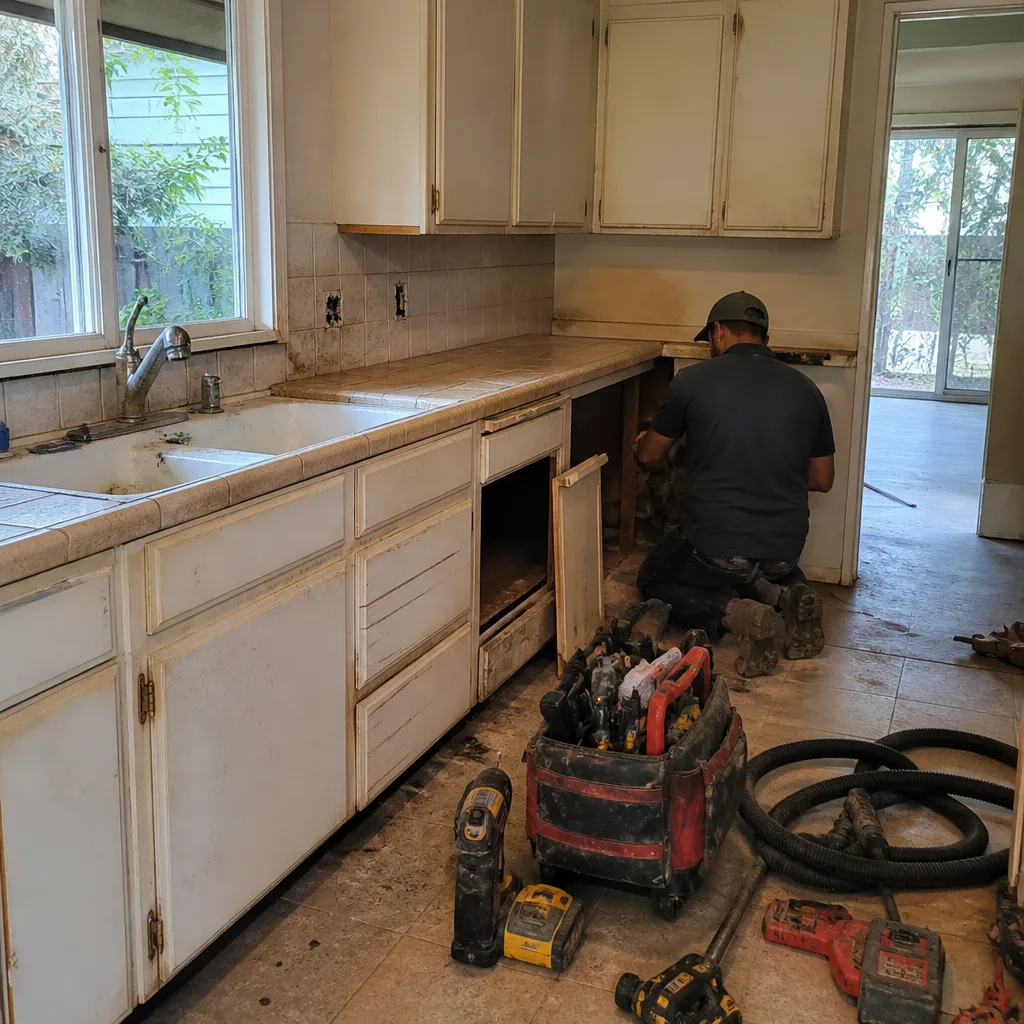 Before
 After
When to Call a Professional
Call us when a symptom is unclear. The failures above fall into two rough groups: cosmetic and structural. Cosmetic issues – efflorescence, organic staining, an isolated cracked paver – are things you can usually handle. Structural ones – sunken sections, spreading pavers, rock-stable base undermined by water – are where the cost of guessing gets high. If you’re not sure which category your driveway falls into, an in-person look settles it. Our technicians have up to 8 years of experience diagnosing paver failures in Southern California and can tell you clearly when a repair is legitimately enough and when a reset is the better investment. Construction Lake Forest offers free estimates in Lake Forest. Call (888) 397-8184. We answer 24/7. Fast dispatch from 7am to 7pm, Sunday through Friday.
Frequently Asked Questions
Pavers sink because the base or bedding sand underneath has settled or washed out. In Lake Forest, the two usual triggers are inadequate base compaction at installation and erosion driven by a failed edge restraint or poor drainage slope. The paver itself rarely shrinks; the support under it moves. Replacing the pavers without fixing the base just restarts the clock. Call (888) 397-8184 for an exact quote – estimates are free.
Sometimes, yes – a single small section (a square yard or so) with visible intact base and stable edges can be reset by a careful homeowner with the right sand and compaction tool. If the section is larger, if multiple areas are sinking, or if pavers are also spreading at the edge, it’s a base-and-restraint problem that’s difficult to fix by hand. Call (888) 397-8184 for a diagnosis before you spend the weekend on it – estimates are free.
A polymeric sand with extended open time, applied in cooler morning temperatures and hydrated fully. Standard polymeric sand can skin over before it cures when applied above 90°F, which is typical of Lake Forest summers. The product matters less than the application method and the joint depth – both of which a competent installer controls. Call (888) 397-8184 for a repair or re-sand quote – estimates are free.
Every two to three years for a driveway with daily vehicle traffic. Homes in Lake Forest with mature trees that drop a lot of litter or with heavy ant activity should expect to re-sand more often. Any open joint at the edge restraint should be addressed immediately, not on the routine schedule. Call (888) 397-8184 for an exact quote on a re-sand and joint repair – estimates are free.
No. Our written estimate sets the price, and we don’t change it mid-project for scope we’ve already quoted. If inspection reveals additional scope – a base issue under a repaired section, for example – we pause and present a written change before any additional work, so you decide on paper before anything happens. Call (888) 397-8184 to schedule your free estimate.
Whether a paver repair or replacement needs a permit depends on what’s being built – a same-material repair in place usually doesn’t, while a full driveway replacement, a curb change, or any work that affects drainage or the public right-of-way often does. We check with the City of Lake Forest on every project before we schedule, and we carry the permit through inspection. Call (888) 397-8184 for the exact scope on your property – estimates are free.
A localized reset on a sunken section is usually a day to two days of site work. A full driveway reset with base replacement takes longer because compaction happens in lifts and needs time between passes – often a few days of active work with curing time after. Exact timing depends on square footage, access, and drainage scope, and we lay it out in the written estimate before we start. Call (888) 397-8184 to schedule your free estimate.
Often yes, if the line is still in current production from a brand like Belgard, Techo-Bloc, Unilock, Tremron or Cambridge Pavers. Older or discontinued lines sometimes can’t be matched exactly – in that case we source the closest available and place it where it reads correctly against the surrounding field. Call (888) 397-8184 for an exact quote – estimates are free.
The Bottom Line
Most driveway paver failures in Lake Forest come down to two causes: insufficient base compaction and failed edge restraint. Treating the surface symptoms – re-sanding, replacing units, adding sealer – buys you a season at best when the base or edge is the real problem. Diagnose first: match the symptom to its root cause, then decide whether a targeted repair is legitimately enough or whether a base reset is the right investment. The good news is that pavers are reparable in ways that stamped concrete and asphalt aren’t – done correctly, they’ll outlast the surface alternatives by a wide margin. If you want a clear read on your driveway, we’ll look at it and tell you plainly. Call (888) 397-8184 for a free estimate. We answer 24/7. Fast dispatch from 7am to 7pm, Sunday through Friday.
For homeowners planning more than the driveway this year, our full-service team handles the roof, windows, fence, kitchen and bath under one contractor relationship – no handoffs between trades, no finger-pointing when scopes overlap. Installs are specified by name, from GAF Timberline shingles on the roof to Grohe fixtures at the sink, so the finished product is exactly what you approved on paper.
Written by the team at Construction Lake Forest.